 Chronic back pain, poor posture, improper form when doing low-body and arm exercises—all can be improved by strengthening your core. This workout would be a great one to combine with a longer cardio session or to do on a more restful day before/after a yoga class. I mean to imply that it’s easy; it’s simply quick and targeted.
Just like last week’s workout in the beginner series, don’t count it out if you’re a little more advanced. Just as there are always ways to modify exercises, there are also ways to advance them.
Beginner Series: 15-Minute Core Workout (Emphasis on Obliques)
Equipment I Used:
- One medium weight (I would suggest 8-10lbs for true beginners, but use a weight that challenges you!)
- Gymboss Interval Timer (there are lots of interval timer apps available for smart phones, too!)
- Exercise mat
- Pen & paper for recording rep numbers.
Set an interval timer for 20 rounds of 30 seconds of work and 15 seconds of rest. You’ll go through the following circuit of five exercises four times. Focus on one side of your body per round. In other words, your first time through the circuit, every exercise should be done on the right side. The second time through, do them all on the left. The only exception to this is the russian twist, which will target both sides of your body every time you preform it.
At the end of each work interval, write down the number of reps you were able to complete of the exercise in the 30 seconds. Do this for each round. As you tire toward the end of the workout, challenge yourself to stay within a couple reps of what you got the first time through. Here are some rep goals so you have an idea of what to shoot for:

Don’t get hung up on these rep numbers. They’re to motivate and challenge you, not to discourage you. Do the best you can do, and next time you try this workout, focus on improving from your previous numbers. Never sacrifice proper form to get high numbers. 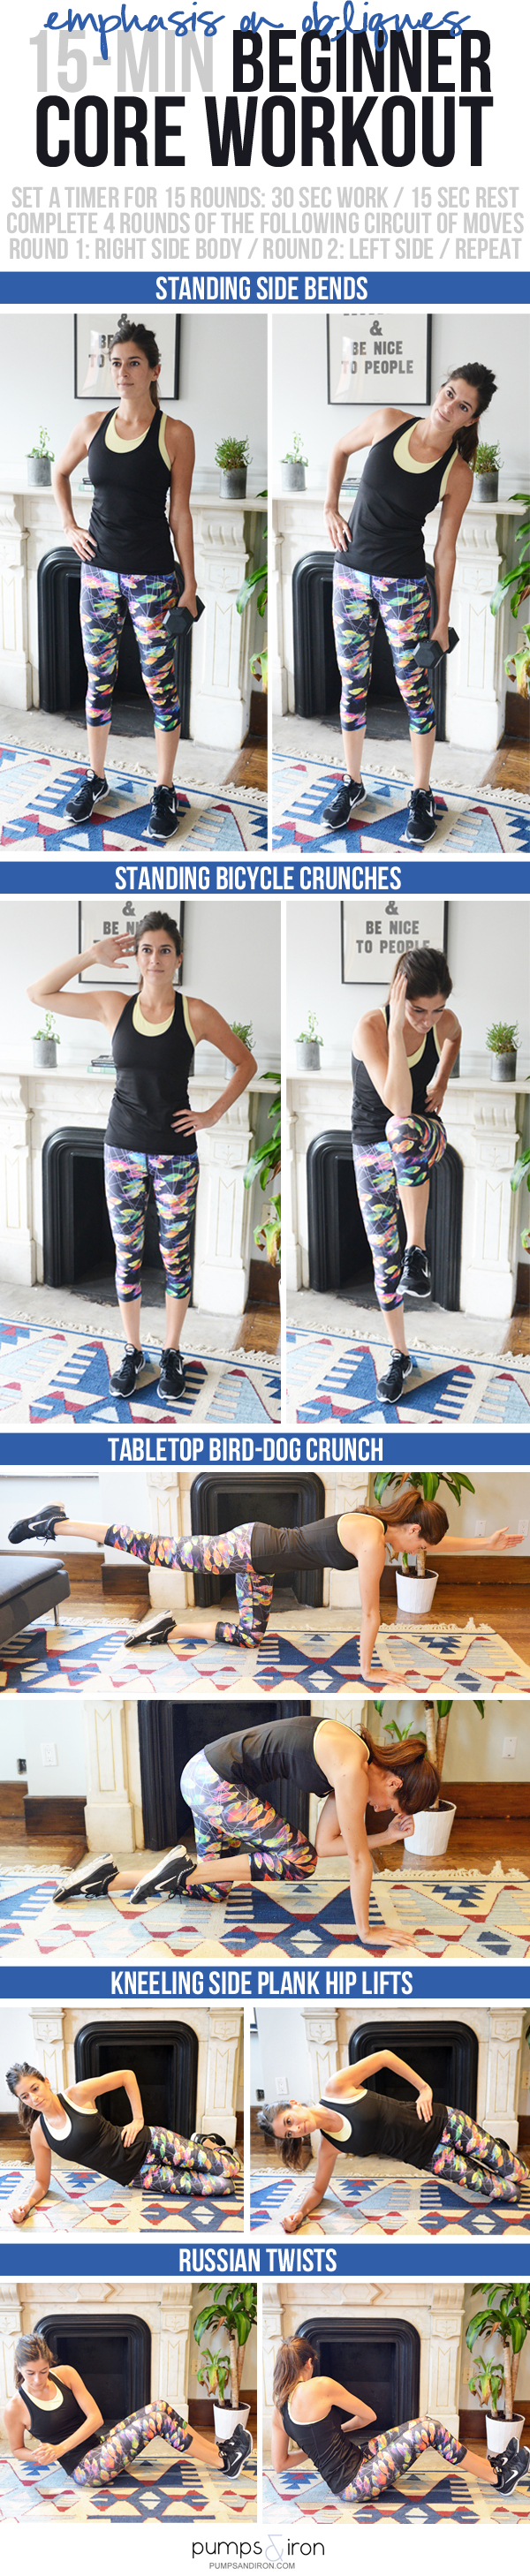
Standing Side Bend
Stand with feet hip distance apart and a weight in one hand, other hand on hip. I typically use a 25-lb kettlebell for these. A 10-lb dumbbell is a great place to start, and for true beginners, you might even want to start lighter. Lean over to the side with your torso as you lower the weight towards the ground (try to get it at least to knee height, if not a little lower). Engaging the obliques, bring your torso back upright to starting position once you’ve gone as low as possible. That’s one rep.
Make sure that you’re bending to the side—not leaning forward or backward at an angle as you dip. Envision sliding the weight down the side of your leg to keep this alignment.
MAKE IT EASIER
- Use less weight.
- Perform the move seated, on either a bench or chair without arms.
MAKE IT HARDER
- Use a heavier weight.
- Extend the other hand overhead as you bend to the side.

Standing Bicycle Crunches
Start standing with feet hip’s width apart, one hand on your hip and the other lightly behind your head. Don’t pull on the back of your head; keep your chest open, roll the shoulderblade back and down and squeeze your upper back to maintain this wide elbow placement. From this starting position, your going to crunch that elbow down and across your body to touch the opposite knee, which you’ll bend and lift up towards it, squeezing your low abs. Don’t worry if you can’t make physical contact between the knee and elbow; focus on pulling you core in tight (like someone is punching you in the stomach) and just get them as close as possible. Carefully return to your starting position. That’s one rep.
MAKE IT EASIER
- This one requires balance. If it’s too much, hold onto something with your bottom, non-crunching hand to steady yourself as you perform the exercise.

MAKE IT HARDER
- Do it laying on the floor. Lay on your back like a traditional bicycle crunch, peeling your shoulders off the ground as you crunch up to meet the opposite knee. If you take this advancement, still crunch to the same side during a 30-sec work period, alternating each time through the circuit.
Tabletop Bird Dog Crunch
Start in a kneeling tabletop position with hands stacked directly under shoulders and knees under hips. Contract your abs to stabilize you as you outstretch your right arm in front of you and your left leg straight behind you. The extended limbs should be level with your hips/shoulders. This is your starting position. From here, bend the extended limbs, crunching the elbow in towards the knee. As you do this crunch, picture someone punching you in the stomach—contract the abs and round the spine up towards the ceiling, pulling the core in tight. Return to starting position, extending the right arm and left leg back out. That’s one rep.
Important form focus: Pay attention to your back—it should never sag down toward the ground. Look in a mirror when you’re in tabletop with your leg and opposite arm outstretched. Does your back look like a hammock hanging between your bum and shoulders? That’s not what you want; it probably means you aren’t engaging your abs. Think of pulling your bellybutton in towards your spine. Aside from the natural curvature of the spine, your back should be flat while in this starting position.
MAKE IT EASIER
- Keep both hands on the ground. If you’re feeling too wobbly during the move, keep both hands planted firmly on the floor and just focus on crunching the knee in as you squeeze your abs.
- You’ll notice this is a recurring modification: If floor exercises don’t work for you because of limited mobility, bring the “floor” up to you. Instead of being on all fours, find a plank position on an elevated surface (bench, coffee table, etc.). Perform your crunches from here, possibly just crunching the knees in one at a time if incorporating the upper body isn’t working.

MAKE IT HARDER
- Hover your knee. Instead of having your non-crunching knee on the ground, plant the ball of that foot onto the floor and lift the knee up a couple inches so that it’s hovering (otherwise your body is in the exact same position). You’ll feel that quad start to burn as it works to stabilize you through the crunches.
- Do it in a plank. Instead of having your knees on the ground, hold a full plank position (balls of feet on the floor) as you crunch opposite knee to elbow.
Kneeling Side Forearm Plank Hip Lifts
Laying on your right side on the floor, plant your right forearm on the ground with the elbow stacked directly under the shoulder. Stack your left knee on top of the right. From here, contract your right sidebody as you lift your hips off the ground so that your bottom knee and forearm are now your points of contact with the floor. Pause at the top, really squeezing into the sidebody and pressing the hips as high as they’ll go. Slowly lower the hips back down to the ground. That’s one rep.
MAKE IT EASIER
- If limited mobility prevents you from doing floor exercises, put your bottom forearm on an elevated surface (bench, table) instead (feet will be on the floor instead of knees if you take this modification). From this incline side plank position, lift and lower your hips.
MAKE IT HARDER
- Don’t rest your hips on the ground at the end of each rep. Lower them to a hover then contract the obliques to lift ‘em right back up.
- Do it from your feet. Instead of having your knees be the point of contact with the floor, do these in a full plank position, feet stacked on the floor.

Russian Twists
Start seated with knees bent and heels planted on the ground. Lean back slightly (don’t slouch, keep your chest open) until you feel your abs sort of kick in and start working to support the angle of your torso. From this starting position, twist to one side, bringing your hands to the outer side of that hip; then repeat in the other direction. That’s one rep. Really twist at the waist—you want your chest to be totally facing whatever side you’re bringing your hands.
MAKE IT EASIER
- Sit in a chair instead of on the floor. If you have limited mobility, getting all the way down to the floor for exercises can be really challenging. Don’t let that discourage you! Bring the “floor” up to you. Sit in a chair without arms and scoot forward enough on the seat so that you can still lean back slightly with your torso. Twist side to side from here. Since this will be easier than the floor, maybe you try holding a weight while you twist to keep the challenge.
MAKE IT HARDER
- Hold a weight in your hands as you do this.
- Lift your feet off the ground. Instead of having your heels down for support, balance on your tailbone, hovering the feet off the floor as you twist side to side.

The “Why” Behind This Workout
A strong core makes for a strong body. As your core strength improves, you’ll notice that you’re better able to perform low body and upper body exercises with proper form. So much of our ability to balance and move with coordination comes from having a strong core—after all, it’s where all our limbs are attached!
Speaking of this powerhouse muscle group …
It’s important to train all sides of your core, not just the “six pack.” Your core includes your obliques, back and all the connecting muscles. It’s important to move away from crunches and make sure you’re working your sides and backside in addition to the front. Think of your core as a girdle: If only the front side is strong, it’s not very effective at holding everything in, now is it?
Focusing on one side at a time is a challenging and effective way to train. By spending an entire circuit on the right sidebody before doing the whole circuit on the left will effectively work the targeted muscle group to its point of exhaustion. It’s the methodology used in Lagree Fitness (the megaformer class I teach), and I find it to be so effective and challenging.
Moving gradually from standing to floor moves makes the transitions easier for people with joint issues or who are carrying a significant amount of extra bodyweight. While some of these exercises are done on the floor, I’ve included modifications for staying a little higher up for all. One of the biggest challenges a beginner may face is all the fast position changes that often come with workouts: hopping from laying on your stomach to your feet; jumping from plank to a squat; getting up and down from the floor—it’s not always very joint friendly. This workout moves from standing, gradually down to the floor so that you only have to get down (and then back up) once per circuit round.
Interval training is effective and gives you a way to track improvement (counting reps). Interval training improves your body’s ability to recover (with respect to cardiovascular and muscular recovery). The first time you do this workout, you might find your rep numbers dramatically dropping with each round because the 20 seconds of rest time won’t feel long enough toward the end. If you continue to incorporate this type of training into your workout routine, you’ll find your body becomes better able to recover from the cardiovascular and muscular strain of the work intervals, improving your performance (especially in those later rounds!). This will be reflected in steadier (and higher!) rep counts.

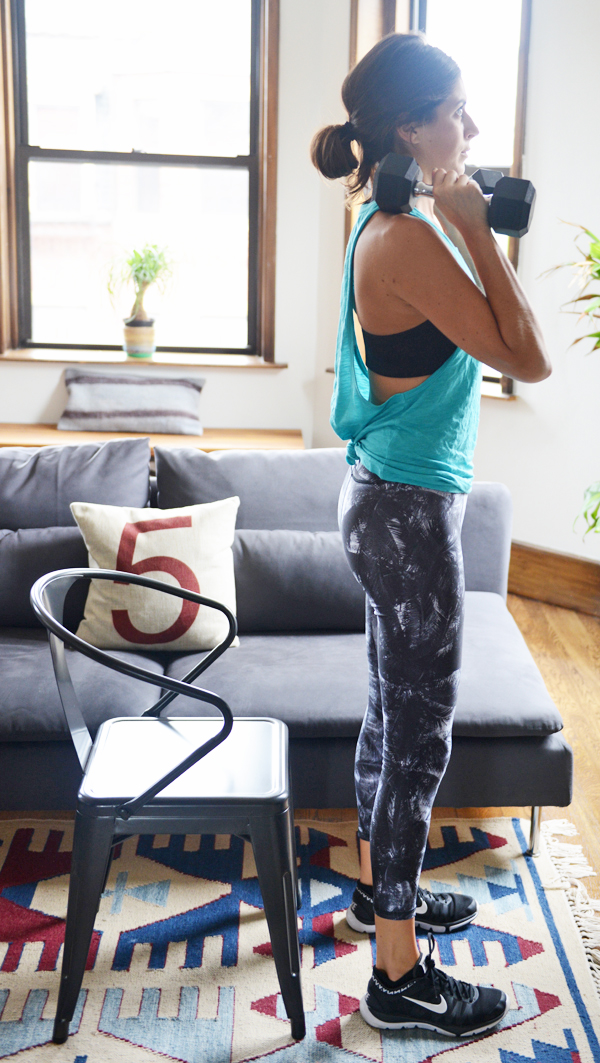
WEARING | leggings: Zara Terez c/o Bombas (<– the comfy socks I’m wearing!) // tank: H&M (old but similar HERE) // sports bra: (old but similar HERE) // sneakers: Nike
SHOT in a Breather room (Gloucester St. #2) — I always get lots of questions about where the decor is from and unfortunately have no clue (although I wish this was my apartment haha). You can get your first hour of Breather free with code PUMPIRON (they’re in NYC, Boston, San Fran, Montreal & Ottawa).
As always, let me know if you have any questions on form in the comments! I’ll do my best to answer quickly.
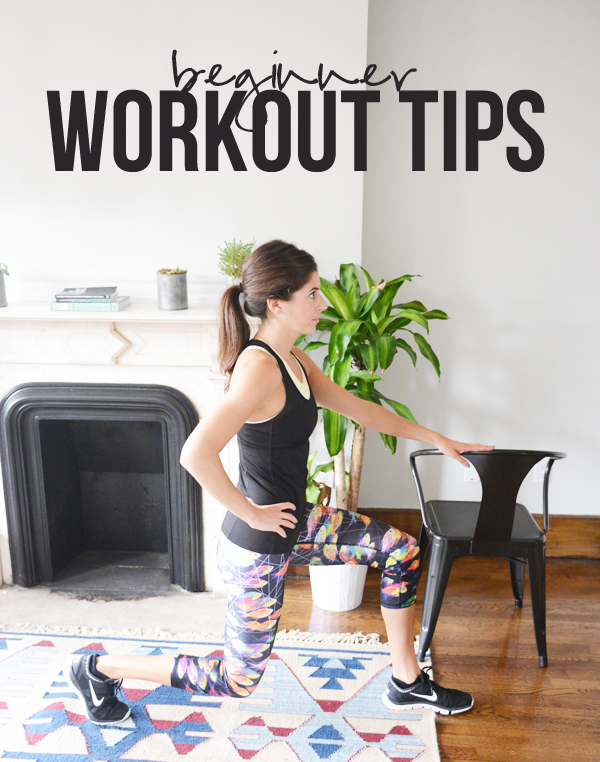
MORE RESOUCES FOR BEGINNERS:
-
- Full-Body Beginner Workout
-
- Workout Tips for Beginners
-
- Beginner Bodyweight Interval Workout
-
- How to Modify Any Exercise

SHOP A SIMILAR LOOK:


 to bring you a rowing + burpees workout! Link in profile. @finishline #ForeverFierce #Ad")
. A HUGE thank you to everyone who helped me reach my @teamwithavision fundraising goal! I was so touched and utterly humbled by the outpouring of support yesterday. 💙💛 #boston2016 #bostonmarathon #runbold #bostonblogger #teamwithavision")


