Cardio Tabata Superset Workout

20-Minute Bodyweight Cardio Tabata Workout - No equipment needed for this at-home tabata workout! #tabata #tabataworkout #hiit #bodyweightworkout

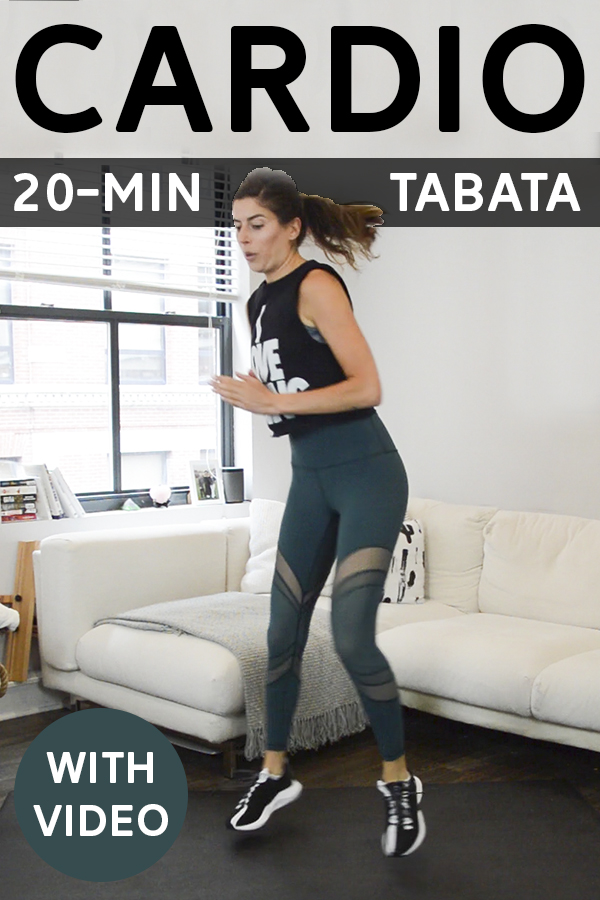
This cardio tabata workout is sure to leave you sweaty and out of breath! No equipment needed, and you need to set aside just 20 minutes. I originally posted this workout back in 2015 and decided to give it a little facelift and an accompanying video. If you’re an OG Pumps reader, revisit this one and follow along with the video!

20-Min Cardio Tabata Workout

This workout is broken up into four tabatas. A tabata is 8 rounds of 20 seconds of work and 10 seconds of rest. I’ll give you two exercises at a time and you’ll alternate between them. Rest for 60 seconds between each tabata.

This is a total-body workout and cardio heavy. There’s lots of jumping around and you’ll be out of breath by the end of each tabata. I’ll show you how to modify each exercise to eliminate jumping in the video. That being said, this workout was designed with jumping in mind, so if you’re looking for a low-impact, effective workout, this might not be the best option. I’d check out my resistance band workouts. They’re low-impact but challenging!

As with all workouts, you want to make sure you’re properly warmed up beforehand. Always listen to your body, modifying or stopping as needed. I have two warm ups you can follow:

20-Minute Bodyweight Cardio Tabata Workout - No equipment needed for this at-home tabata workout! #tabata #tabataworkout #hiit #bodyweightworkout

Workout Breakdown

TABATA 1

See 1:22 in the above video for a preview of the exercises and how to modify them.

  • Hot Feet
  • 180 Squat Jumps

TABATA 2

See 5:59 in the above video for a preview of the exercises and how to modify them.

  • Mountain Climbers
  • Push Ups to Low Squat

TABATA 3

See 10:47 in the above video for a preview of the exercises and how to modify them.

  • High Knees
  • Jump Lunges

TABATA 4

See 15:40 in the above video for a preview of the exercises and how to modify them.

  • Star Jacks
  • Bicycle Crunch Sit Ups

If you like this cardio tabata workout, be sure to try these other workouts from the archives. All use the tabata structure and don’t require any equipment!

xo Nicole

Quick Upper Body & Core Workout (Perfect to Pair with Running)

Upper Body & Core Workout (perfect for pairing with a long run!)This post was sponsored by FitFluential LLC on behalf of Mizuno. While I was compensated, all opinions—as always!—are my own.

1/26/15 UPDATE:  Hey guys! At the time I wrote this post, I had been testing out the sneaker for about a month and, as I mentioned, hadn’t had any trouble with my achilles tendonitis flaring up. Well DAMNIT it started to bother me again after several months of running with this shoe. People RAVE about Mizuno Wave Riders, so I still stand behind my positive review of this sneaker–I think the problem is more in my running form. As you can see in some of the pictures, I’m a heel-striker. A minimalist shoe helps force me onto my toes and I think that’s what relieves the tendonitis. This shoe is more cushioned, so for me personally, it enables my bad heel strike. I no longer run in this shoe, and have returned to a minimalist sneaker when I run (right now it’s the Nike Free +3). I gave these Mizunos to my non-heel-striker friend and she LOVES them. So again, the shoe isn’t bad–it’s just not the right fit for me. Wanted to update so that this review isn’t misleading!

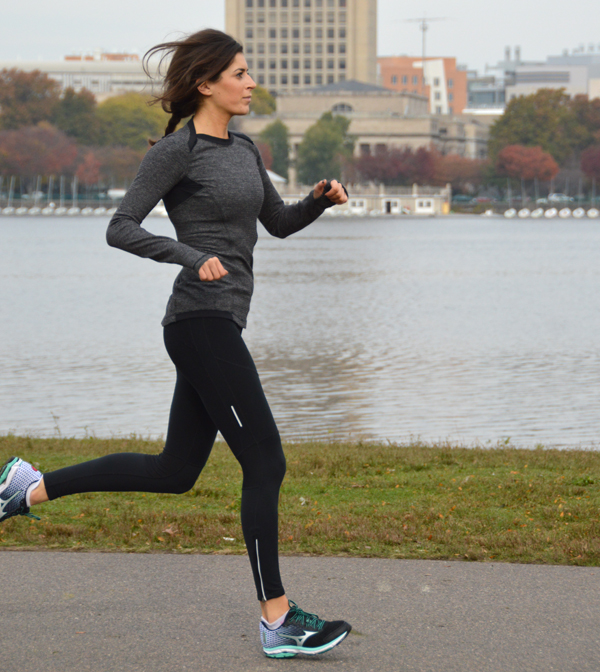
I jumped at the opportunity to try out the Mizuno Wave Rider 18. Starting in college, I started having Achilles tendonitis flair-ups every time I went running—didn’t matter if it was 1 mile or 10 (LOL as if College Nicole would ever have run 10 miles…). For the most part, I just battled through it, but about two years ago, I switched over to a barefoot-feel running shoe and it was a total game changer. Haven’t had a single issue with tendonitis since. However, with that amazing improvement came another problem: my feet and knees started to hurt if I ran more than five or six miles. It was not quiiiiite enough support.

I’ve been wanting to try out a lightweight running shoe that offers some additional cushioning, and when I saw that the description of the Wave Rider 18 kept emphasizing this idea of “just enough” support, it struck home. After running consistently in them for a few weeks now, I’ve found that they really do have a great balance between lightweight flexibility and that cushioning shock-absorbent sole that I felt I was lacking. They’re so comfortable! But the big concern for me was that going back to a more supportive shoe would alter my foot strike and bring back tendonitis issues. Drum roll please…

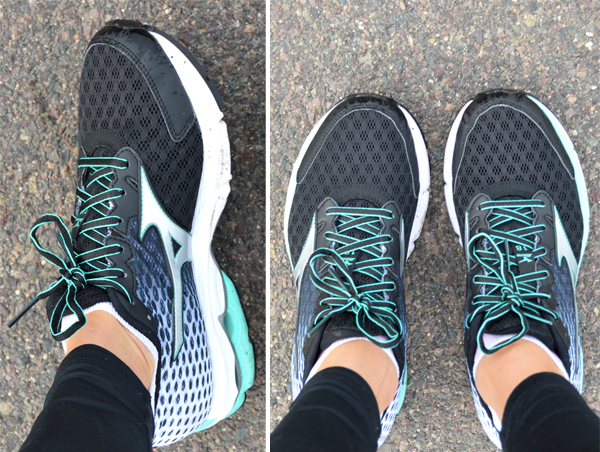
So far, so good! Granted, I haven’t gone more than 5 miles at a time in the Wave Rider 18 yet, but no tendonitis flair-ups—yay! The Mizuno Wave Rider 18 retails at $119.99 and you can check it out HERE. I’m wearing it in Black/Silver/Florida Keys.

Mizuno Wave Runner 18

Since we’re on the topic of running, I wanted to share this quick workout that’s perfect for pairing with a long run. It’s all upper body and core work so those legs can save their energy for pounding the pavement (or trail or treadmill).

Upper Body & Core Workout

Equipment I Used:

You’ll do each exercise for 30 seconds before moving immediately on to the next (no breaks in between exercises). Once you’ve gone through the whole circuit, rest for 30-60 seconds. Repeat twice more for a total of 3 times through the exercises. I set my interval timer for 32 rounds of 30 seconds of work and 0 seconds of rest so that it would beep every 30 seconds, signaling me to move onto the next exercise (32 instead of 30 to account for two 30-second breaks).

Upper Body & Core Workout (perfect for pairing with a long run!)

  • Plank Triceps Kickbacks (RIGHT): Start in a plank position, left hand stacked directly under left shoulder, right hand holding onto a hand weight, elbow bent. Keeping your hips level as you do this (fight your body’s natural tendency to shift all the weight into your left side), extend your right hand straight back behind you, really squeezing the back of the arm (triceps) as you do. Hinging at the elbow, bring the weight slowly back to starting position.
  • Plank Triceps Kickbacks (LEFT)
  • Push Ups: You know the drill! If you need to modify, do these from your knees.
  • Russian Twists: Start seated, holding the weights in both hands at your chest, feet lifted off the ground with your knees bent. Lean back slightly, core engaged, balancing on your tailbone. Twist to one side, bringing the weights to the outer side of that hip; then repeat in the other direction. Really twist at the waist—you want your chest to be totally facing whatever side you’re bringing the weights.
  • Side Plank Row Extensions (RIGHT): Start in a side plank position, left hand stacked under left shoulder, dumbbell in right hand (start with a straight right arm, weight held a few inches off the ground. From here, row the right elbow straight up towards the ceiling and then straighten the elbow, lifting the weight up into the air. Make it two distinct movements: row, extend. Reverse the movement, bending the elbow and then straightening it downward to your starting position.
  • Side Plank Row Extensions (LEFT)
  • Seated Shoulder Press Ups: Imagine your forearms and elbows have magnets on them. Holding a weight in each hand, palms facing your face, hold your forearms in front of you, elbows bent at 90 degrees. Fight to hold the elbows as close to each other as you can throughout the whole movement. From here, you’re going to press your hands straight up, lifting the elbows, keeping forearms close together. Be careful not to shrug your shoulders up towards your ears as you do this. After pressing up as high as you can, slowly return back to starting. To engage the core, we’re going to do these in a seated position, legs out straight in front of you, posture straight and upright.
  • Serve the Platter in Plank (RIGHT): These are deceptively hard! Start in a plank position, left hand stacked directly under left shoulder, right hand holding onto a hand weight, palm facing up, elbow softly bent. From here, keeping your hips level (resist your body’s tendency to lean into that left side), reach that right hand forward, getting as close to a straight arm as you can. Slowly return to starting position.
  • Serve the Platter in Plank (LEFT)
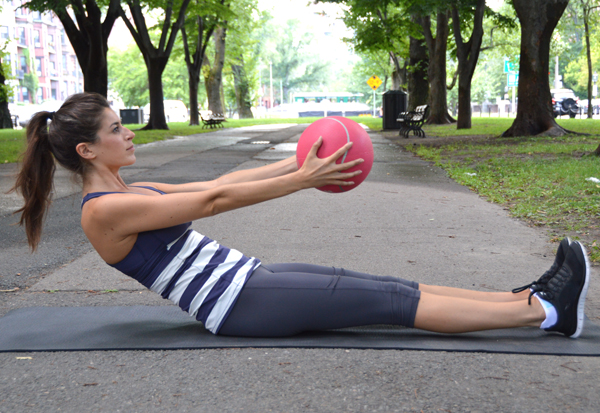
  • Boat Pose with Serve the Platter: Start by getting into a boat pose position holding a weight in each hand. You’ll be balancing on your tailbone, leaning back slightly with a straight spine (squeeze those abs in tight!) with legs lifted off the ground. If you can, straighten the legs so that your body forms a V shape. To modify, keep your knees bent. From here, palms facing up, reach those weights up and out in front of you, extending the elbows. Slowly bring hands back to starting position, keeping legs lifted the whole time.

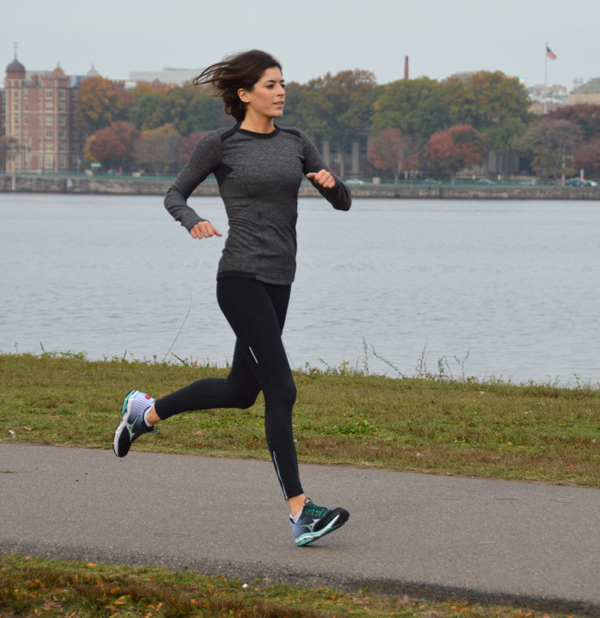
Upper Body & Core Workout (perfect for pairing with a long run!)WEARING | sneakers: c/o Mizuno // leggings: Nike // top: Lululemon

Next time you’re going on a long run (or short run) give this workout a try—it’s only 15 minutes long and is a great compliment to that lower-body cardio!

signature

Med Ball Core Workout

Med Ball Core WorkoutDisclosure: This post was sponsored by Target® C9 through their partnership with POPSUGAR Select. While I was compensated to write a post about Target® C9, all opinions are my own.

You may recall that earlier this summer I got the chance to team up with Target® to wear a couple pieces from the new Target® C9 collection in this “No Rest” Tabata Workout. Well today we’re teaming up again, this time to share some of my favorite ways to enjoy the end of summer/early fall with friends while staying active.

The weather this time of year (at least in New England) is THE BEST for taking your workouts outdoors. Some of my favorite ways to actively enjoy the changing seasons include:

Running along the Charles River

Since his hand surgery, running is one of the few exercises my boyfriend can do, so we’ve started to go for runs together around the city. With the warm—but not oppressive—weather this time of year, it’s the perfect workout (and company!).running-charles-river

Hiking at my parents’ place in Maine

My parents’ second home in Maine is on a ski mountain and a lake, so the hiking is GORGEOUS as summer turns to fall. Last time I was visiting, my brother and I went for a morning hike up one of the mountains and it was the perfect way to start the day.HIKING-IN-MAINE

Taking my favorite P&I workouts outside

I try to shoot the majority of my workout tutorials outside because of the optimal lighting, but I actually do a fair amount of them outdoors as well! Most recently, I took this Med Ball Core Workout outside. I should add, however, that while I shot it in the middle of Comm Ave with the sprinklers going off, I did it in the privacy of my old back patio area. C’mon now, I’m not that awkward… 🙂Med Ball Core Workout

Med Ball Core Workout

Equipment I Used:

You’ll do each of the 8 exercises for 30 seconds. Move right from one exercise to the next. Once you’ve completed them all, rest for 30 seconds, and then start right from the top. Complete 4 rounds in total. This workout will take you just under 20 minutes to complete. If you’re new to working out, you can start by completing just two or three rounds, and work your way up to four.

I set my interval timer for 35 rounds of 30 seconds of work and 0 seconds of rest. This accounts for the rest intervals and will make the timer beep at you every 30 seconds, signaling you to move onto the next exercise. You could also just watch the clock.

Med Ball Core Workout

  • Table Top Sit-Ups: Start laying on your back holding the medicine ball overhead in both hands (it should be hovering off the ground). Feet should be lifted, knees bent at about 90 degrees. From here, sit up, bringing medicine ball up overhead and in front of you, and place it carefully on your shins. Let go of it, returning to the starting position without the ball in your hands (it’s balancing on your legs still). Sit up, this time grabbing the medicine ball from your shins and bringing it back down to starting position with you. Continue to alternate: one sit-up with med ball, one sit-up sans med ball while it balances on your shins.
  • Russian Twist: Start seated, holding the med ball in both hands at your chest, feet lifted off the ground with your knees bent. Lean back slightly, core engaged, balancing on your tailbone. Twist to one side, bringing the med ball to the outer side of that hip; then repeat in the other direction. Really twist at the waist—you want your chest to be totally facing whatever side you’re bringing the ball.
  • Leg Lift Toe Touch: Lay on your back with arms stretched overhead, holding on to your medicine ball (it should be hovering a couple inches off the ground—don’t let it rest on the floor). Feet should also be hovering a couple inches off the ground; pull your belly button in towards your spine and press the low back against the ground in this position. From this starting position, lift both legs up so that toes are pointing towards the ceiling, keeping legs straight. Then bring the med ball up to meet them, crunching up as you lift the ball overhead, reaching towards your toes (it’s ok if you can’t physically touch them, just focus on lifting your shoulder blades off the ground as high as possible). Return upper body to starting position and then lower legs to starting position.
  • Plank Roll Out (RIGHT): Start in a plank position, right hand on a medicine ball, left hand on the ground. Slowly roll your right palmàwristàforearm over the top of the ball. As you reach forward like this, you’ll need to bend your left elbow, lowering the body (but still keeping strong plank form!). Reverse the motion, rolling right forearmàwristàpalm and straightening your left elbow back to starting position as you do.
  • Plank Roll Out (LEFT)
  • Sit ‘n Toss: Lay on your back with arms stretched overhead, holding on to your medicine ball (it should be hovering a couple inches off the ground—don’t let it rest on the floor). Lift the medicine ball forward as you sit up, keeping arms straight, and lift it straight above your head as your body comes into upright sitting position. Bring ball into chest and toss up into the air. Catch and slowly lower to the ground, bringing ball back overhead behind you.
  • Plank Jump Jacks: Start in a plank position with hands on the medicine ball. Jump both feet up towards the outside of the ball and then quickly back to a plank. Then jump feet out to the sides (like a horizontal jumping jack) and quickly back together. That’s one rep. When doing the “jack” part of this move, try to hold a strong plank alignment with your upper body—don’t let your butt pike up into the air or hips sag downward.
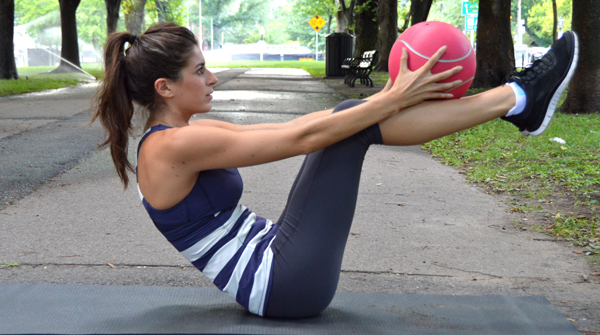
  • Boat Pose Leg Scissors: Start in boat pose holding the medicine ball at your chest. For boat pose, you balance on your tailbone, leaning back slightly, legs and upper body lifted in a “v” shape. To do this, engage your core (I think of trying to squeeze my belly button and spine together). If you’re a beginner, instead of keeping your legs straight, bend the knees (but still keep those feet lifted!). From here, you’re going to scissor your legs, one foot on top of the other, alternating back and forth. For an added challenge, scissor them up and then down (one foot on top of the other for a few scissor kicks, and then reverse the direction, one foot below the other for a few scissor kicks).

Enjoy this workout—and time of year!

xo Nicole