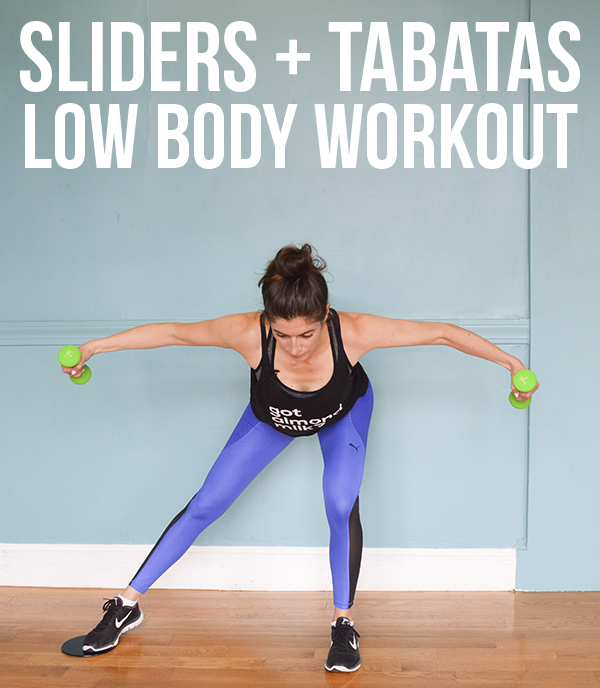
20-Minute Low Body Workout: Slow Sliding + Fast Tabatas

In this 20-minute low body workout you'll alternate between low-impact slider work and high-intensity tabata intervals.This 20-minute low body workout mixes low-impact slider exercises with fast, heart-pumping tabatas. I know this is the second legs/butt workout I’ve posted in a row, so if you’re craving something else, check out my Upper Body Workouts, Core Workouts or Full Body Workouts playlists on YouTube instead.

Low Body Workout: Slow Sliding + Fast Tabatas

Equipment You’ll Need:

  • Slider (you can use a dish towel if on a hardwood floor or a paper plate on carpet)
  • Light hand weights (2-5 lbs — maybe up to 8 lbs if you’re feeling like a gangster)

This workout will take you just under 20 minutes to complete. If you’re looking for a longer workout, do it twice. You’ll do 2 minutes of slider work on each leg (inspired by the megaformer work I teach at Btone!) followed by a bodyweight tabata. Here’s the general breakdown (rest for 30 seconds in between each section):

Slider lunge series on RIGHT
Slider lunge series on LEFT
Tabata 1
Slider squat series on RIGHT
Slider squat series on LEFT
Tabata 2

As with all workouts, make sure to warm up beforehand. I have a 5-minute warm up on my YouTube channel you can follow along with or just do your own. Modify as needed with all the exercises—I’ll explain how to in the video. 🙂

In this 20-minute low body workout you'll alternate between low-impact slider work and high-intensity tabata intervals.

20-Minute Low Body Workout: Exercise Breakdown

Slider Lunge Series

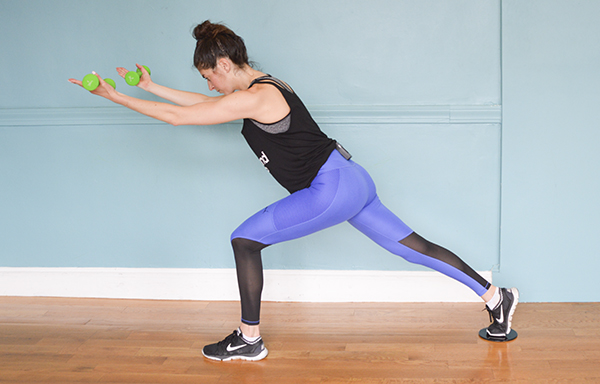
  • Sliding back lunge with front raise |
  • Low lunge slides with reach ‘n pull |
  • Swan dive in low lunge |

Tabata 1

  • High knee lunge stomps | Alternate legs each interval.
  • Jump lunge, lunge, squat |

Slider Squat Series

  • Single-leg squat with reverse fly |
  • Low squat skates |
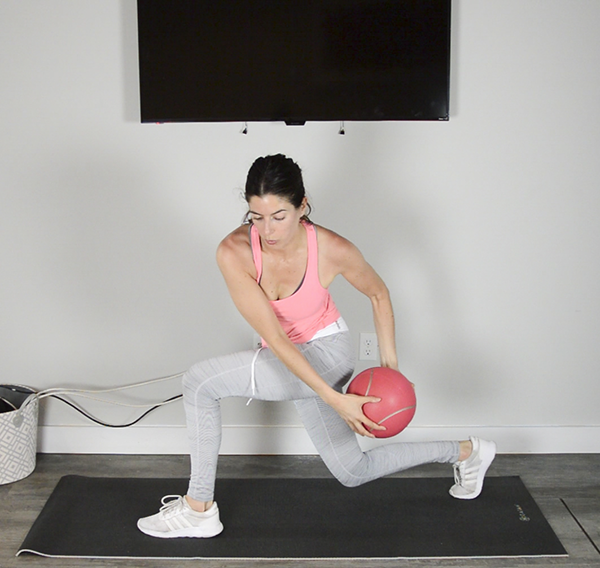
  • Low squat hold with crossbody twist |

Tabata 2

  • Sumo squat hops |
  • Popcorn squat jumps |

In this 20-minute low body workout you'll alternate between low-impact slider work and high-intensity tabata intervals.

WEARING | leggings c/o Puma (old but these new ones from Puma are similar and these bright blue leggings from adidas are also fun!) // House of Lily Rose tank

30-Minute Low Body Workout (Glutes) with Resistance Band Loop + Med Ball

You'll need a resistance band and medicine ball for this 30-minute low body workout focusing on the glutes. Video included so you can follow along at home or the gym! | Pumps & IronHope you all had a great weekend! I spent mine on Nantucket, and even though it was a little chilly, it felt like an unofficial kickoff to summer. We rented bikes, hung out with friends, did lots of eating and drinking outside in the sun—it was wonderful. And after a few days of relaxing, I am craving a good sweat! This 30-minute low body workout will pay extra attention to the glutes (my bum was sore for two days after filming it).

30-Minute Low Body Workout (Glutes)

Equipment I Used:

This workout is broken up into three circuits. The first two circuits use a resistance band loop for low-impact, targeted exercises for the glutes. The third and final is a HIIT circuit using a medicine ball to target the lower body with high(er) impact exercises. Rest for 30 seconds in between each circuit.

You'll need a resistance band and medicine ball for this 30-minute low body workout focusing on the glutes. Video included so you can follow along at home or the gym! | Pumps & Iron

Resistance Band Loop Circuit 1: Tabletop Exercises

Do each of the exercises for 30 seconds, moving one right to the next without rest in between. Go through the four exercises twice. First on the right, then on the left.

  • Donkey Kick Pulses | In tabletop position with your hands stacked under shoulders and knees under hips, engage your core and bring your right foot up so that the knee is bent and around hip height. The resistance band should be around your left ankle as an anchor and your right foot. In this position, pulse your right leg up and down a couple inches, keeping tension on the band.
  • Straight Leg Lifts Up + Out | Straighten out your leg at about hip height. From here, lift the leg up then swing it out to the side with control, back to center, and then lower back to starting position. These are small, controlled movements. Keep the top of the foot pointing to the floor the whole time and the hips square.
  • Spider Crunch with Pulses | From tabletop position, lower onto your left forearm so that your upper body is stacked open. Your right kneecap and toes should face the wall, not the floor. Start with your right leg straight and then crunch the knee in to your shoulder and back out straight. Do three straight-leg pulses here. You’ll be targeting the right side but your left glutes need to work as well. Try to keep your left hip stacked over your left knee as best as you can. If you have super tight hips, this can be a tough one. Try doing it laying on your side instead to modify.
  • Tabletop Plank Jacks | Start in a plank position with the resistance band a couple inches above your ankles. Jump your feet out wide (like a horizontal jumping jack), back to center plank, and then bend your knees and hop your feet forward so that you land in a hovering tabletop position (knees under hips hovering a couple inches off the floor).

Resistance Band Loop Circuit 2: Standing Exercises

Do each of the exercises for 30 seconds, moving one right to the next without rest in between. Go through the four exercises twice. First on the right, then on the left.

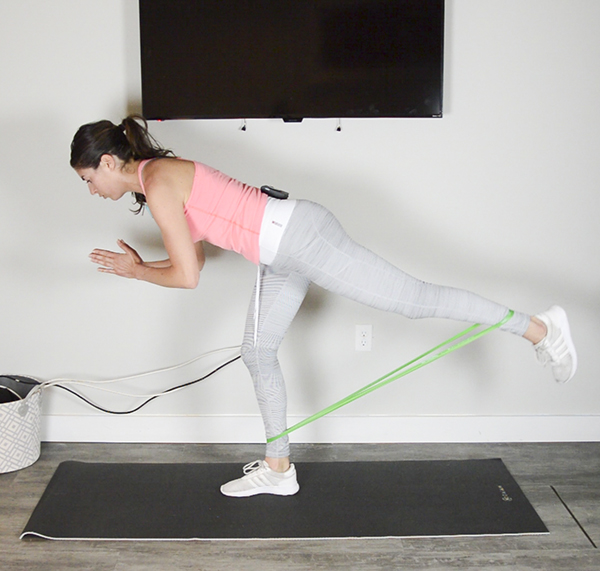
  • Out-turned Straight Leg Pulses | Stand with the resistance band a couple inches above your ankles and your hips pointing forward. Your right leg should be straight, extended behind you at an angle and rotated outward. Keep a soft bend to your left knee. From here, pulse the right leg up and out.
  • Deadlifts | Square your hips to the floor. Keep that mini-bend to the left knee and your core engaged as you tilt forward as if your body is a seesaw. Come back upright with control until your right toes lightly tap the floor.
  • Deadlift Pulses | Hold the tilted position and pulse your back right leg up and down a couple inches.
  • Popcorn Squats | Jump your feet out wide as you sink into a squat and touch the floor with one hand. Jump your feet together as you come upright and then repeat, touching the floor with the other hand.

REPEAT CIRCUIT 1 + CIRCUIT 2

Repeat the two circuits, this time starting on the left side and then the right side.

Circuit 3: Med Ball HIIT

For your final circuit, you’ll do 15 rounds of 30 seconds of work and 10 seconds of rest. You’ll have five medicine ball exercises that you’ll go through three times. It will take 10 minutes in total.

  • Jump Lunge Scoops | Start in a split-stance lunge position, one foot planted on the ground in front, the ball of the other foot planted behind you, both knees at opposing 90-degree angles. Holding the med ball in both hands overhead, do a jump lunge, switching your feet midair and landing back in a lunge with the other foot forward. From here, scoop the med ball down and to the outside of your front leg. Scoop it back up overhead and repeat to the other side.
  • Bottom-Half Burpees with Forward/Backward Hop | Start in a low squat position with med ball at chest. Bring med ball to the floor and jump feet back into a plank. Jump them back up into a low squat position, bring the ball back to your chest and hop backwards, staying low. Repeat, but the next time hop forward.
  • Soccer Taps | This is like high knees but as you drive your knees up, tap your foot on top of the medicine ball. Try to make physical contact with the ball each time without causing it to roll away.
  • Marching Wall Sit | Hold the med ball at chest height. Back against a wall, knees bent to 90 degrees, feet hip’s width apart. Lift one foot at a time, marching the knee up towards your chest.
  • Pivoting Low Lunge – Squat – Lunge | Pulse in a low lunge position with right foot in front and then, staying low, pivot to center and pulse in a low squat position. Finally, pivot to the other side so that the left foot is leading the lunge and pulse there. Stay low the whole time as you pulse right, center, left, center, etc.

You'll need a resistance band and medicine ball for this 30-minute low body workout focusing on the glutes. Video included so you can follow along at home or the gym! | Pumps & Iron

WEARING | Zella leggings c/o Nordstrom // Lululemon tank (old) via thredUP ($10 off your first order with this referral link)

If you try the workout, let me know how it goes in the comments! And if you haven’t already, be sure to subscribe to my YouTube channel. 🙂

Beginner Tabata Workout – Full Body, No Equipment Needed

This tabata workout is perfect for beginners. No equipment needed, although a chair is helpful if you're a true beginner or working with mobility issues.

I have a few beginner workouts on the blog (you can find all beginner resources here), but haven’t yet made one in video form. This post is long overdue! And let me know in the comments if you want more beginner workouts. The hard ones tend to get a lot of positive feedback so I sorta get stuck on this track of trying to make each workout more challenging than the next, but I want this site to be a fitness resource for everyone. What sense does it make to cater fitness to only those who are already relatively fit?!

This week’s workout uses pretty much the same structure as last week’s, but is toned down a notch.

Beginner Tabata Workout

No equipment is needed for this workout (just have an exercise mat or some padding for the knees handy). If, however, you’re a true beginner or are working with mobility issues that will make it difficult to get down and up again from the floor, I’d recommend using a chair or bench throughout the workout. I’ll show you how to modify the exercises throughout the video.

This workout is made up of three tabatas. A tabata is 8 rounds of 20 seconds work and 10 seconds rest. I’ll give you two exercises for each tabata and you’ll alternate between the two during the 4 minutes. Rest 30 seconds after each completed tabata before moving onto the next.

This tabata workout is perfect for beginners. No equipment needed, although a chair is helpful if you're a true beginner or working with mobility issues.

Tabata 1

  • Squat with Pulse | Feet about hips-width apart, squat down, sending your hips and butt back and down (not the knees forward!). Keep your chest open, shoulders back—it’s natural to lean forward slightly as you lower down, but we don’t want to hunch forward. Bring your hands in front of you as you sink down to your lowest point, bodyweight staying in your heels. Pulse up an inch and down an inch. From there, powerfully stand back up, straightening your legs and thrusting your hips forward (squeeze your bum at the top!) and driving your arms behind you. Make sure you’re actively engaging the outer thighs to prevent the knees from caving inward (knock-knees) as you lower down into your squat. To modify, forget about the pulse and practice your squats using a chair (sit down on the seat and then stand back up).
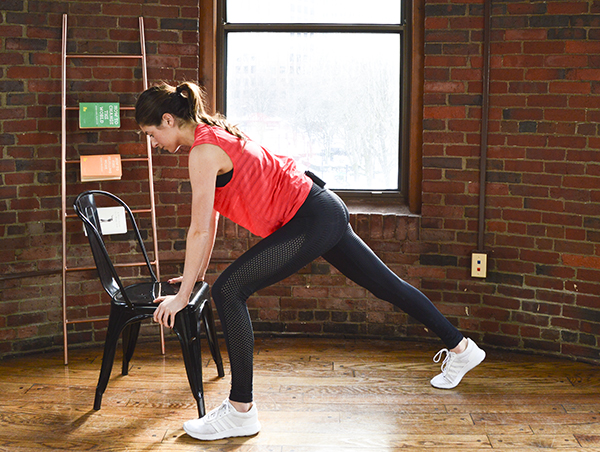
  • Back Lunge with Pulse | Start standing with feet hip width apart. Step your left foot back behind you as you bend the right knee, sinking into a lunge. Get as low as you can, trying to bring the right knee as close to a 90-degree bend as mobility allows. From this low lunge position, pulse up an inch and down an inch. Stand as you bring the left foot forward in line with the right to your starting position. For balance assistance, you can place a hand on a chair. Alternate legs each round of work.

Tabata 2

  • Modified Push Ups | You can do these either on the floor from your knees or on your feet with your hands on a chair/bench/elevated surface (even a wall works!). Think “plank” with your core alignment as you bend and straighten your elbows. You want to maintain neutral spine and lower your torso as one unit, rather than just dipping your chest and sticking your butt up into the air.
  • Forearm Plank | Most of us are familiar with a plank, so just a couple form queues: think of stacking your joints, elbows directly below shoulders. Think of gently knitting the ribs together and pulling the low belly up and in. Squeeze the glutes and quads—notice how engaging these muscles helps straighten out your body even more. Fire up the entire abdomen by pulling the forearms and balls of feet in towards each other (you won’t actually move, you’ll just contract the muscles). If this is too much, modify by dropping to your knees or by brining your hands to a chair/bench/elevated surface.

Tabata 3

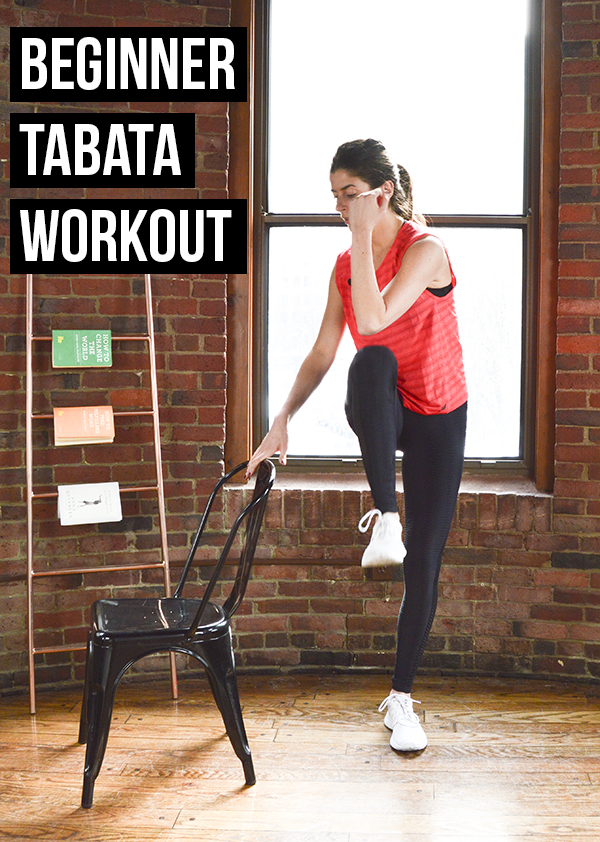
  • Twisting High Knees | Start standing with arms overhead. From here, march your right knee up towards your chest as you twist your torso to the right and bring your elbows to the outside of the knee. Return to starting position and repeat to the left. Make these as quick as you can. For assistance with balance, keep a hand on a chair as you do this. Just make sure to switch hands each 20-second round.
  • Modified Burpees | From a standing position, squat down and bring your hands to the floor (or a chair to modify). Step one foot back at a time to a plank position. Step one foot at a time back up to the outsides of your hands and stand back upright to standing position.

This tabata workout is perfect for beginners. No equipment needed, although a chair is helpful if you're a true beginner or working with mobility issues.

WEARING | tank c/o New Balance // Booty By Brabants leggings // adidas sneakers