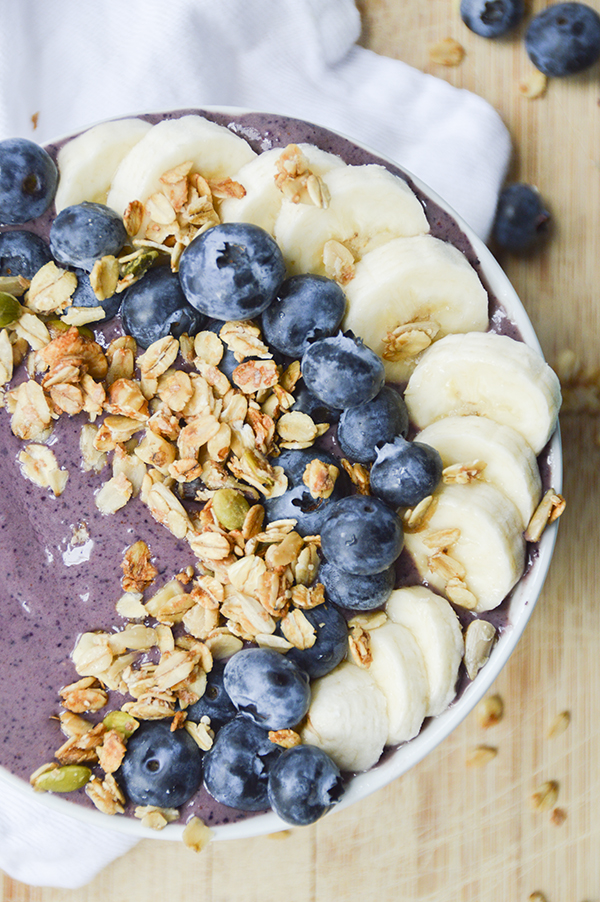
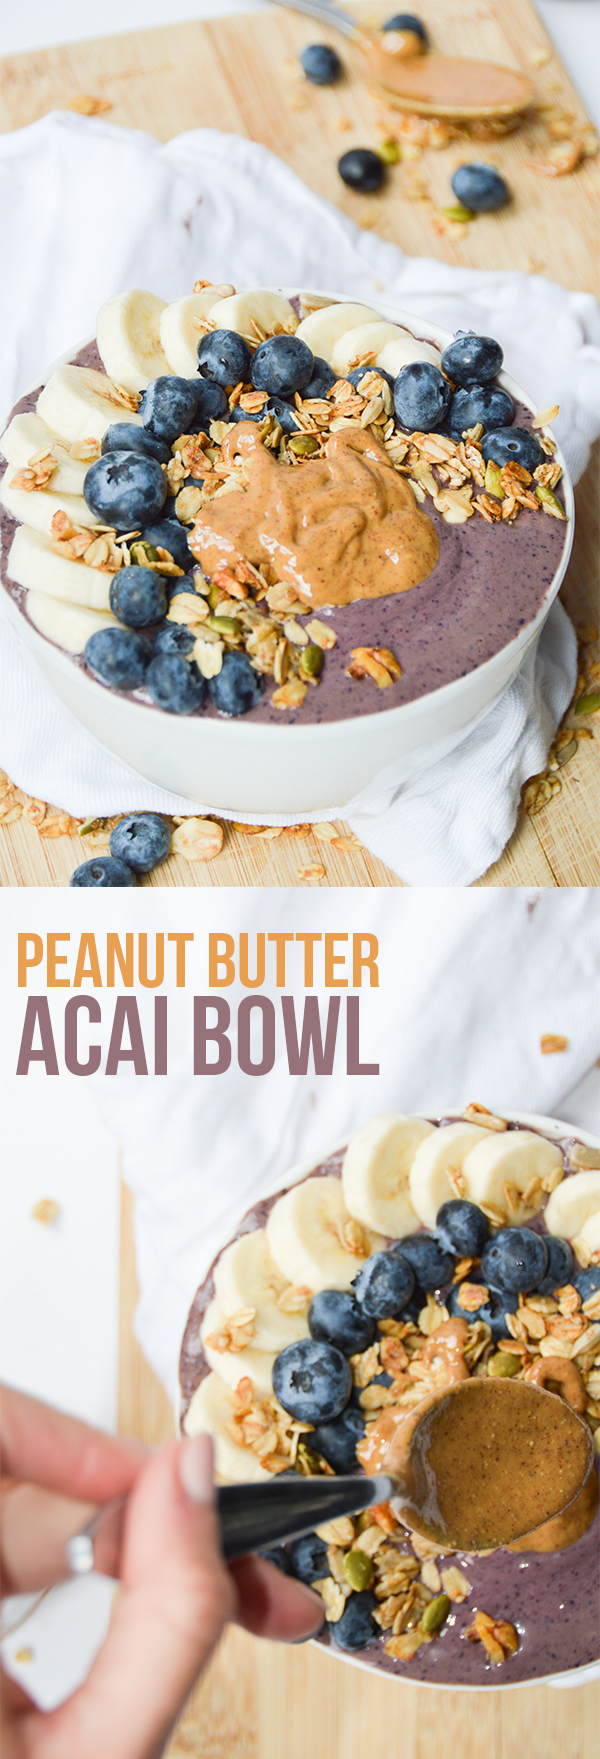
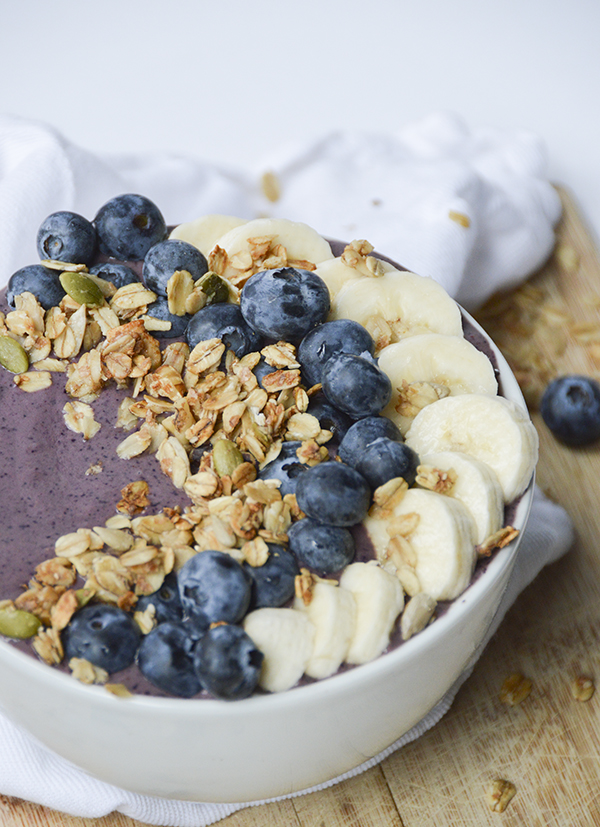
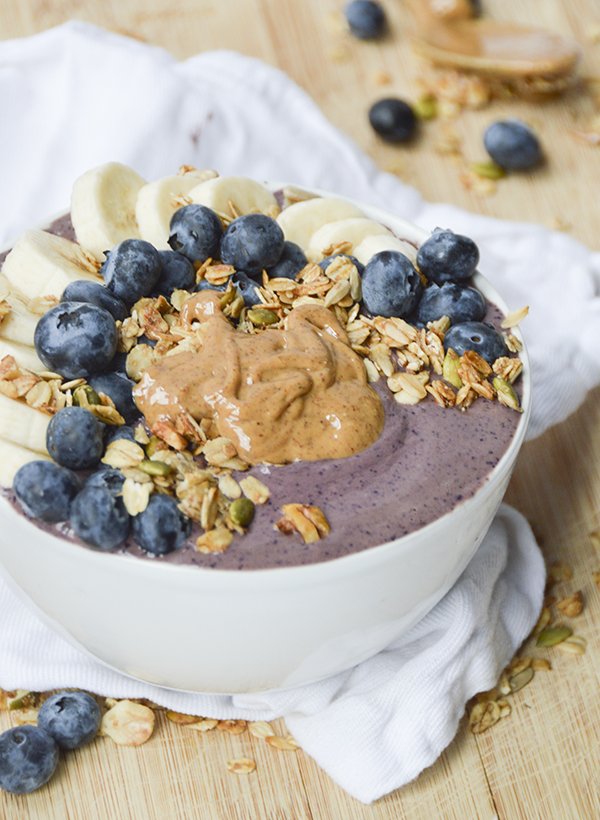
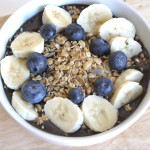
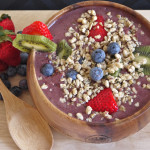
I love smoothies as much as the next basic betch, but rarely do I feel satisfied when I drink one alone for breakfast. It’s not that they can’t contain all the goodies you need for a healthy breakfast, it’s just that I haven’t chewed anything. Cue my obsession with smoothie BOWLS. Exact same ingredients just with a little granola on top and a spoon—makes all the difference. Try this peanut butter protein acai bowl the next time you want to eat your morning smoothie.
[amd-zlrecipe-recipe:108]
For the protein powder, I use this raw, plant-based one from Garden of Life. I add protein to smoothies and drinks maaaaybe once a week, if that, so I certainly don’t have an expert opinion on brands, but I do think this one is really yummy if you’re looking for a recommendation! You could also totally make this peanut butter protein acai bowl without the protein powder.
Some other acai recipes from the archives:
Any time I do a gallery of images like this, I always laugh at how bad my photography skills used to be. I’m no pro now, but jeeze, it looks like I took those early pictures with a throwaway camera in a dark basement (lol).
-
- My Current Go-To Acai Smoothie Bowl
-
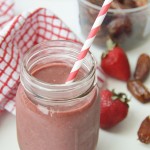
- Strawberry Date Smoothie
-
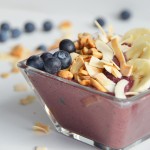
- Blueberry Acai Smoothie Bowl with a Coconut Cashew Crunch Topping
-
- Tropical Green Acai Bowl
-
- Blueberry Kale Protein Acai Bowl
-
- Berry-Kiwi Acai Bowl
-
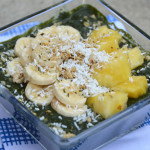
- Kale & Spinach Acai Bowl with Hemp Seed Granola
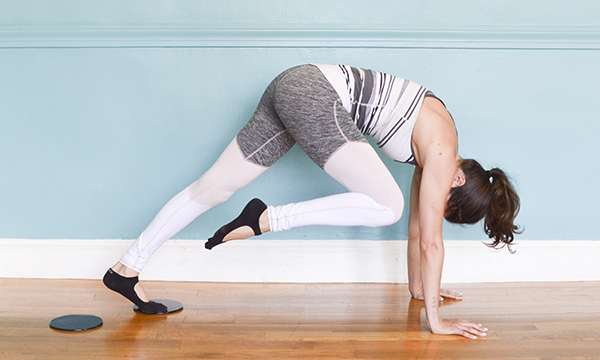
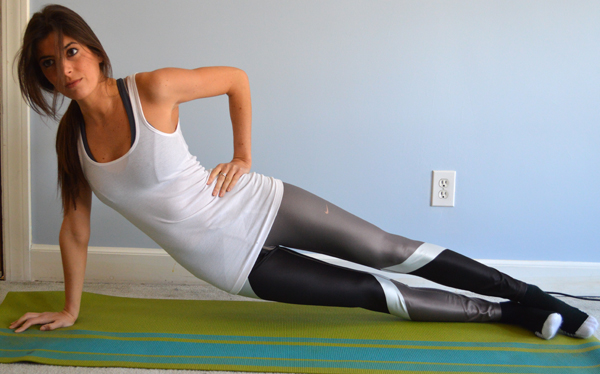
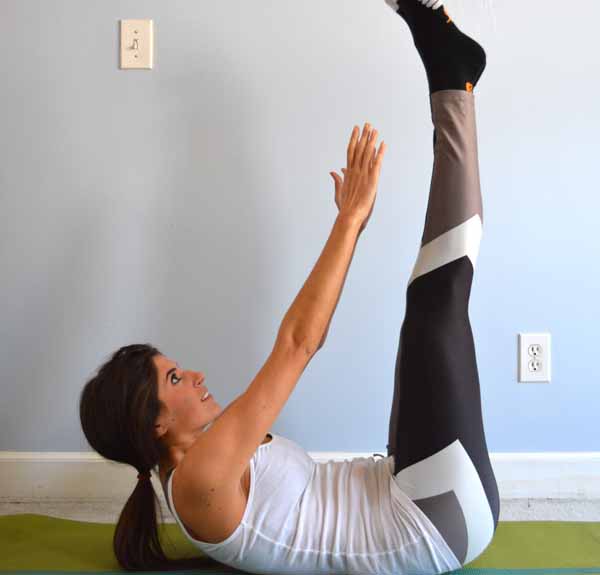
Happy Sunday, friends!

 Today’s workout is a follow-up to