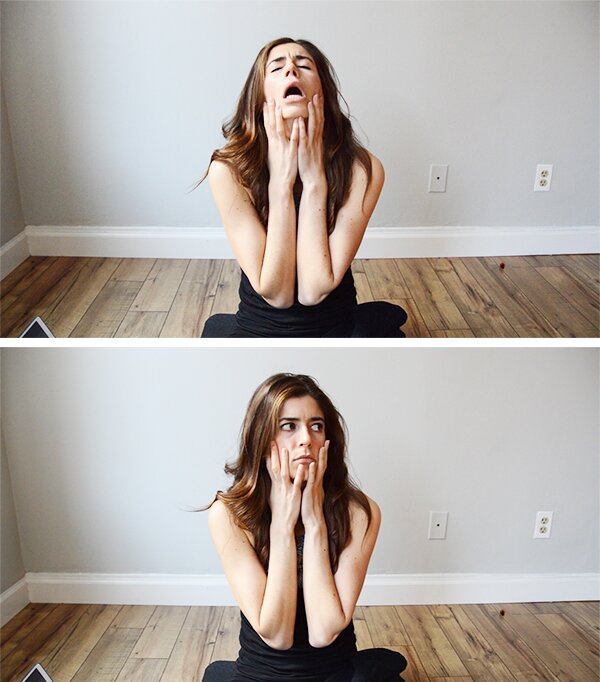
real outtakes from my first video — not staged (LOL)
My first YouTube video actually never made it to YouTube. It was that bad. But far from considering it a failure, I actually learned a ton throughout the process. Nothing mind-blowing, just little tips for making the process more streamlined. My second go at the whole thing, it took me a fraction of the time and the quality of the end project improved tenfold. I still have a long way to go until I’ve mastered it, but I thought I’d share the little things I’ve picked up so far for any other bloggers and fellow YouTube newbies.
1. Outline the video before you shoot.
I had the workout I was going to shoot all planned, but I made the mistake of not planning out what shots I’d need. So then I got home and started editing and it was a choppy disaster. Visualize the flow of the final video and write down its outline. Think about transitions; what you want to see on screen during intro and outro titles; angles of shots; will you be talking or will you do a voiceover; what information do you need to cover when talking; and so on.
- OPENING TITLE SCREEN fade music to
- SHOT 1 | Close up talking
- SHOT 2 | Side view of lunge (30 seconds) cut to
- SHOT 3 | Front view of lunge *use voiceover*
That’s a very barebones example, but you get the idea. The second time I attempted to shoot the video, I knew exactly what material I needed to get and was way more efficient with my time. Having an outline made editing much more streamlined as well.
2. Big room + no mic = echo.
I’m all about making the most out of what you have when it comes to blogging/vlogging. Yes, the equipment helps–but it can be expensive! What works for me financially is gradually investing in equipment and then just MacGyvering workarounds for the stuff I don’t yet have. My next investment will probably be a wireless mic for these videos, but right now I’m just using a combination of my camera’s built-in mic and voiceovers that are recorded at a later date. The problem with using your camera’s mic is that if you’re in a big room (which I am for workouts), you sound awfully echo-y. The camera mic will also pick up all the little sounds around the room–from your feet hitting the floor with a loud thud during squat jumps to a truck driving by outside.
Voiceovers are a great solution because I can filmed the workout, remove the sound from the visual footage, and then just talk over it with audio recorded separately, and in a small, quiet room without an echo. When I want footage of me talking in real time, I set up a white background in a small room (my studio apartment works) and make sure to sit close to the camera.
3. You can use your iPhone’s voice memo app for voiceovers.
 Game changer! Instead of recording audio for voiceovers using the mic on the camera (seems like a waste of memory if you’re not even using the visual footage, right??), I discovered the voice memo app on my iPhone works like a charm. Great sound quality and you can conveniently hold the phone right up to your mouth as you watch the video footage for which you’re doing the voiceover, talking based on what visuals will be on screen at the time. I then just send the audio file right to my computer and import it into Adobe Premiere (what I use for editing videos).
4. Use a stand-in to focus the camera before rolling. Just remember to move said stand-in out of the shot.
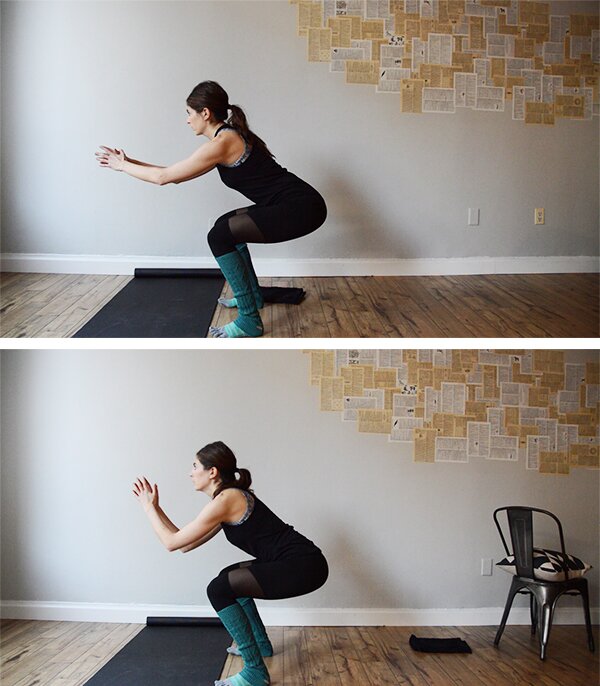 I’ll coerce my mom into helping me shoot these soon enough, but for now I’m making the videos on my own. It’s surprisingly not as big a pain in the ass as I thought! I set my camera up on a tripod and then put a chair or plant in the shot where I’ll be. I then focus the camera on the stand-in and start recording. I’ll then move the plant/chair and begin the workout where the plant once was.
Just make sure you move the stand-in completely out of the shot! I didn’t move it far enough the first time I tried to film and the result was half the workout material had a clean background and the other half had a chair in the back corner. Makes for choppy editing when you put the two together! Keep your background consistent.
5. Video drains the camera battery. Buy a backup or plan your shoot accordingly.
I have an older camera (I use my DSLR in video mode), so I’m sure there are way more battery-efficient models out there, but I was still shocked at how quickly my battery died. I had reserved a Breather (you can get an hour free if you use code PUMPIRON FYI) for two hours and my camera died a little over halfway into it. Womp wommmmp.
Spare batteries aren’t too expensive, and I think it’s a worthwhile investment if you plan to shoot for longer periods of time. I like to bang out multiple shoots/workouts/videos/recipes at once (I’m much more productive this way), so I just purchased two extra battery packs with a charger (under $30 — worth it!). These are the ones I got, but just go to Amazon and search for your camera model and the word “battery” and you’ll get exactly what you need.
Bonus Discovery: My left ear is apparently heavier than my right, plus other equally horrifying observations.
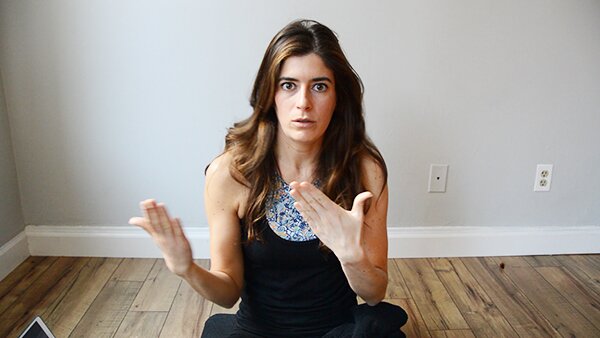 Wait. That’s what my voice sounds like??! It’s a reaction I think we’ve all had at one point or another while listening to a recording of ourselves speaking. Multiply that shock and horror times a million with video. Why does my mouth do that when I say words that start with “s”?? Do I have a lisp?! The hell are my hands doing?? Why do I keep tilting my head to the left?? Do I need botox?? All questions I asked myself while reviewing the video I’d shot.
Just remember that your mannerisms are going to seem a million times more awkward to you than to anyone else. Don’t even sweat it. But if you’re a fellow Italian, maybe like, I dunno, handcuff your hands to the chair out of the video frame … 😉
Follow Me on YouTube
After weeks of talking about it … ok, months … OKAY FML, years … I finally joined the YouTube community! I’m going to upload my first video tomorrow (woohoo!) and from here on out, you can expect a new workout video every Tuesday. There’ll be a blog post to accompany it with all the descriptions and pictures you’re used to, so if video ain’t yo’ thang, no worries.
The videos will hopefully increase in quality and decrease in awkwardness week by week. Bear with me through these first few!
Fellow bloggers & YouTubers — any tips to add to my list?


Shooting videos is tough, for sure! I’ve tried a couple where I’m talking, but since I did it outside, a car would drive by like every 2 seconds…then complete silence. Oy vey! I like the tip of using the iPhone voice memo to do the voice over – stealing this tip! 🙂 Can’t wait to see your first production!
My videos have definitely evolved and I am constantly trying to improve them. I am lucky to have my boyfriend to help. These are great tips.
This is hilarious and so spot on. Doing videos can be scary but I bet you’ll find you become alive more once you get passed the initial nervousness 🙂 Good luck!
Former drama major over here and I still can’t stand listening to myself on camera or when I record my voice for something. It’s SO awkward!
Haha I love this. I can’t wait to see what the video looks like!
Aww this was such a great read! I have been toying with creating videos etc for years too. You’re not alone! I’m so glad you got there now! All the best! xx
http://uneditedbytes.com