 Hey guys! Sorry I haven’t posted in a while. I’m in the process of transferring my website over to private servers because my current shared ones can’t handle the amount of traffic P&I has been getting—most certainly not a bad problem to have! However, what is a bad problem to have is my lack of technical website knowledge. It’s taking longer than it should because I’m learning as I go (story of my blogging career), but I think it should be smooth sailing from here. I’m back to a regular posting schedule and just crossing my fingers nothing explodes over the next couple days.
If you’ve been following me for a while, you’ve probably noticed that my go-to workout getup is a pair of leggings (the funkier the better) with a lose tank top. I do wear other workout tops with built-in bras from time to time, but I just love the comfort and laidback style of tossing on a muscle-cut tank or racerback over a sports bra. So when Michelle from Reverence Apparel reached out to me about rocking one from her line on the blog, I thought it’d be a perfect fit. With all the HIIT and tabata workouts I post, I had to go with this tank:

Med Ball Tabata Workout
Equipment I Used:
- 6-lb med ball (would have liked to use a 10-lb but this is all I own right now)
- Exercise mat
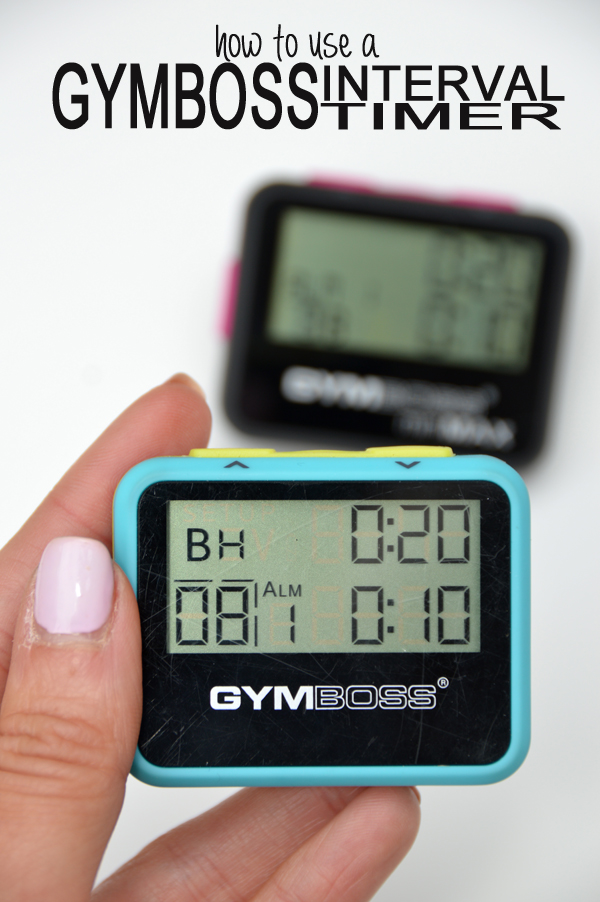
- Gymboss Interval Timer
You’ll set your timer for 8 rounds of 20 seconds of work and 10 seconds of rest. As you’ll see, for each exercise, you flip-flop each of the 8 intervals you’re working. For the most part, that just means right side then left side. For the pushups, you’ll alternate between hands and feet (see below). Once you complete your 8 rounds of one exercise, do the same thing for the next (so in total, you’re spending 4 minutes on each exercise).
This is a great workout for beginners and takes only 20 minutes to complete. If you’re more advanced, I would recommend going through the workout twice (so that you spend an entire tabata block on each side, rather than alternating).

- Med Ball Crossbody Chops: Start in a split-stance lunge position right foot forward, ball of left foot planted behind you, both knees bent to 90 degrees, holding the medicine ball by your right foot with straight arms. Your left foot is going to pivot as you stand up, bringing the medicine ball across your body (keep arms straight) and reaching it up to the left. Chop it back down diagonally across your body to starting position, pivoting left foot and bending your knees.
- Med Ball Push Ups: These are your basic push up, only you’ll alternate between having your hands on the ball (similar to doing a diamond push up on the ground with your hands in close and elbows going out wide as you lower) and balancing your feet on the ball (hands on the ground).
- Med Ball Hip Bridge Leg Lift Thrusters: Start in a bridge position: right foot on the med ball, shoulders on the ground with arms by your side for support, and left leg held straight up, toes pointing towards the ceiling. Squeeze your glutes to lift your hips off the ground—your bum should not come to rest on the floor throughout the duration of the exercise. This is your starting position. From here, it’s one hip thruster with one leg lift at the top: lift your hips off the ground as high as you can, squeezing your glutes. Hold at the top and lower your left leg parallel to the floor (keeping it straight) and then lift back up so toes are pointing up. Lower your hips back down so that they’re just hovering above the floor, and then repeat: thrusting upward and then lowing the left leg.
- Med Ball Plank Roll Out: Start in a plank position, right hand on a medicine ball, left hand on the ground. Slowly roll your right palm–>wrist–>forearm over the top of the ball. As you reach forward like this, you’ll need to bend your left elbow, lowering the body (but still keeping strong plank form!). Reverse the motion, rolling right forearm–>wrist–>palm and straightening your left elbow back to starting position as you do. Alternate each 20-sec work interval: right, left. If you need to modify, do this from your knees.
- One-Leg Med Ball Burpees: This is your basic burpee except you keep one leg lifted the whole time and are holding a medicine ball in your hands. This is the whole sequence: Keeping your left foot hovering off the ground, bend the right knee to bring the medicine ball to the ground in front of you. Hop the right foot back into a plank position, and then hop it back up forward towards the ball. Stand up straight, bringing the ball with you and then hop upward on the right foot, pressing the medicine ball overhead as you do.

WEARING | tank: c/o Reverence Apparel // leggings: c/o lucy // sneakers: Nike
I wanted to leave you with a few other tops from Reverence Apparel I like and to spread the word about their #CycleForSurvivalHealthie challenge that’s taking place through the end of the month. Not only do a portion of proceeds from the Spincess tank below benefit cancer research, but you also get involved via Instagram. If you post a selfie doing some sort of exercise to instagram with the hashtag #CycleForSurvivalHealthie and tag @reverenceapparel and three friends, you can enter to win a prize package from Equinox, Athleta & Reverence Apparel. Details here.


.png)


